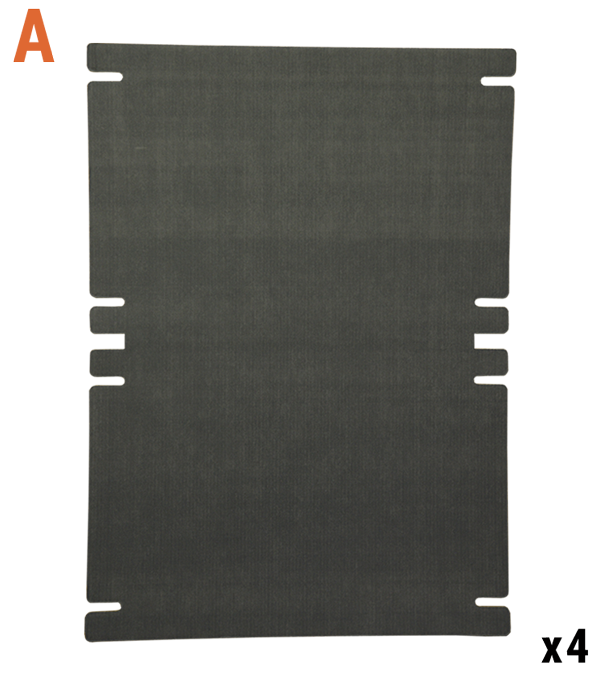


Four Panel A's will create the shelving. Insert a panel B hexacomb support into each.

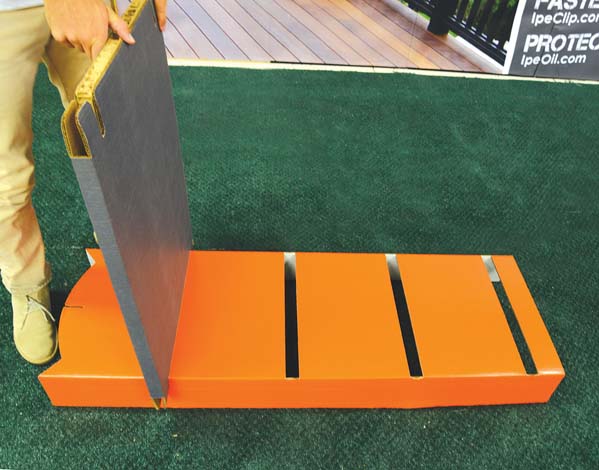
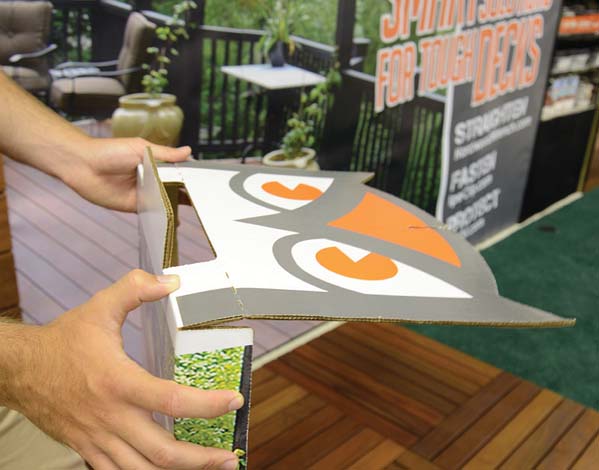
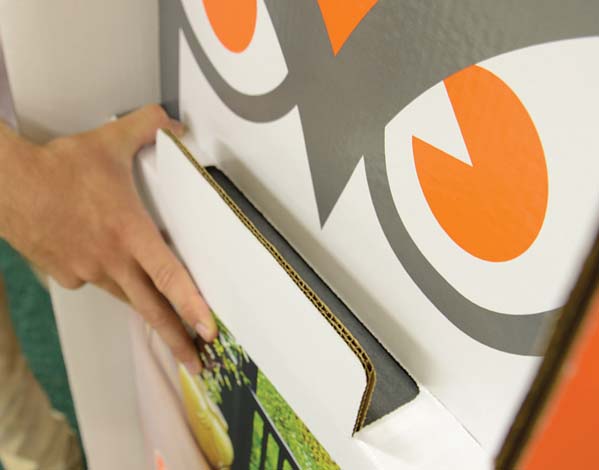
Center a hexacomb Panel B in the middle of a Panel A and fold around the hexacomb Panel B.

Sandwich each hexacomb Panel B into each of the four A Panels. Lay flat to the side for later.

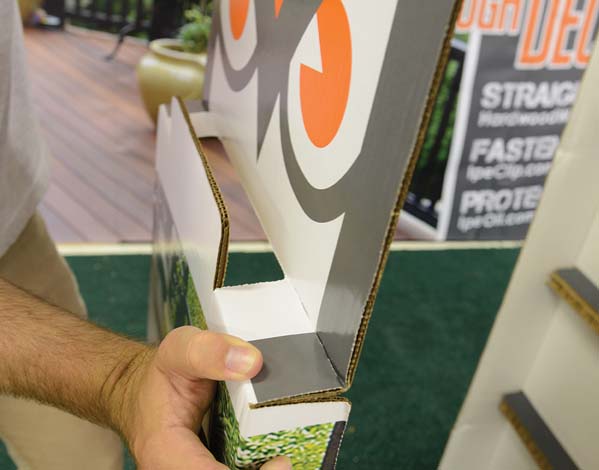
The hexacomb Panel B should not protrude into the Panel A slots. Keep them centered.
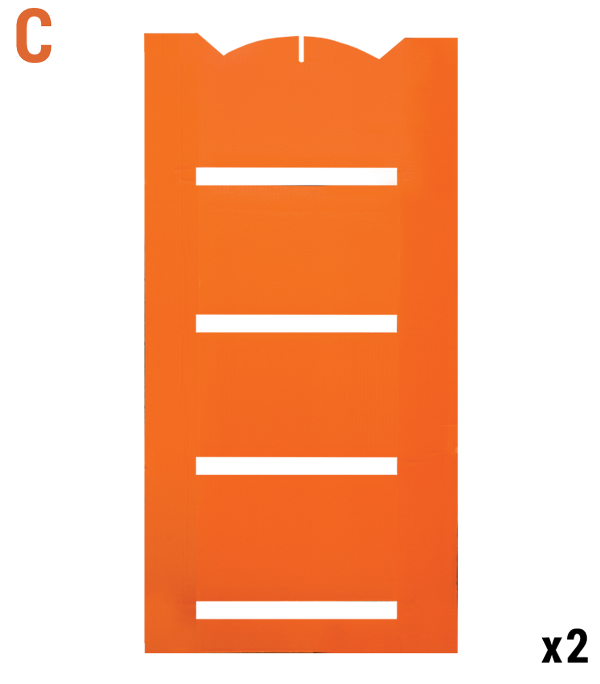
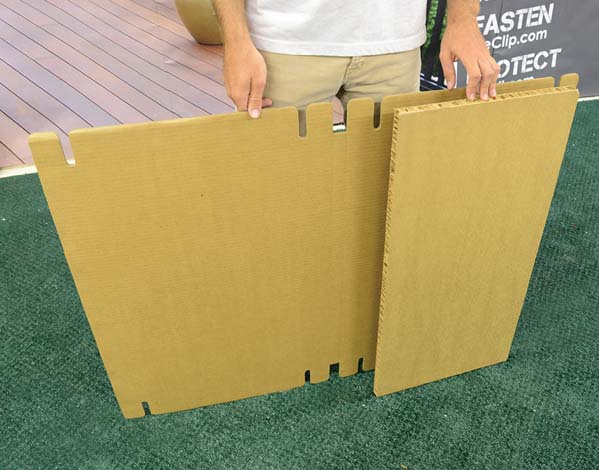
Fold the side flaps back on both Panel C's. These will build the sides for attaching the shelves.
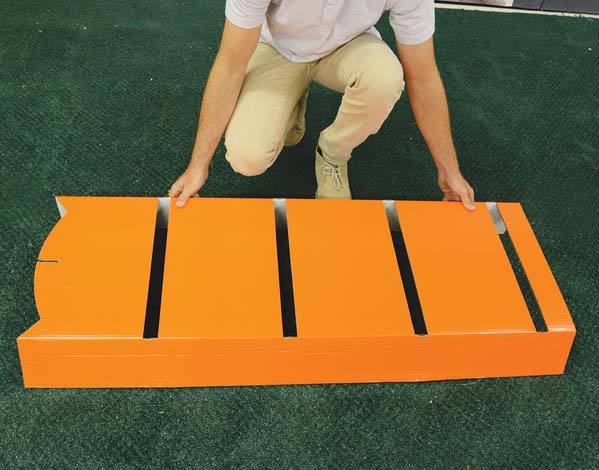
Lay one Panel C on the ground. Keep the orange side up with the white side down.
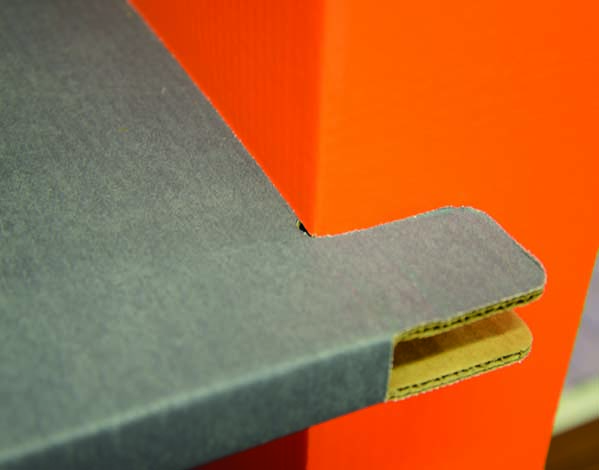
Now insert all Panel A's into the Panel C. Be sure the hexacomb stays out of the outside tab areas.
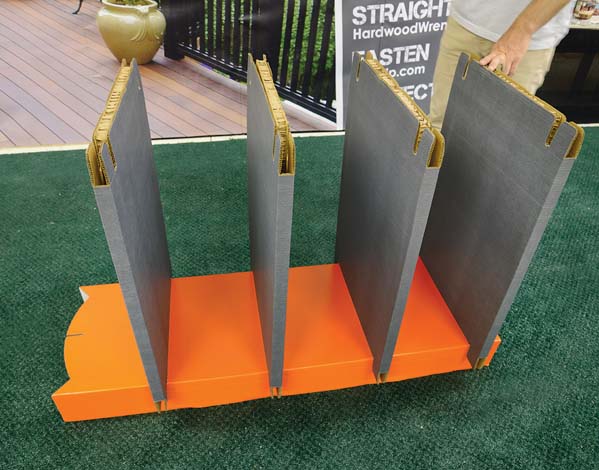
After all four shelves are inserted, be sure they a tightly fit for the opposite side insertion.
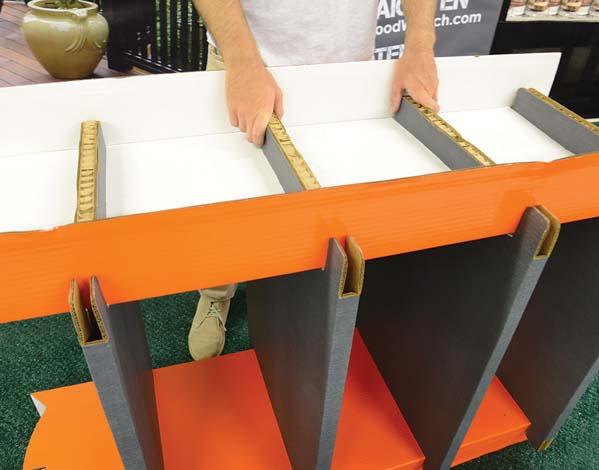
Take the remaining Panel C and insert all four shelves keeping the hexacomb centered.
Now that the main support sides are on, be sure they all fit tightly and the hexacomb is centered.
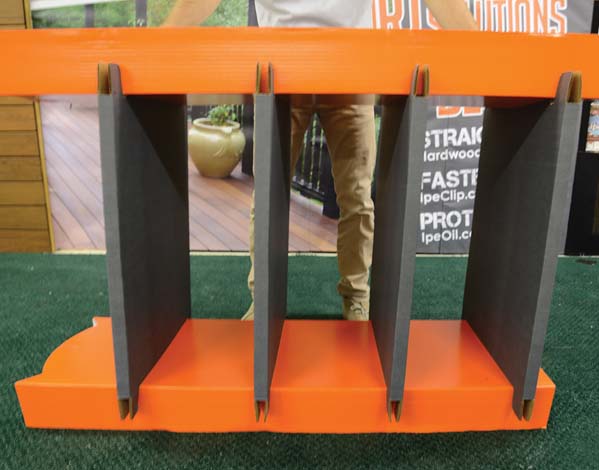
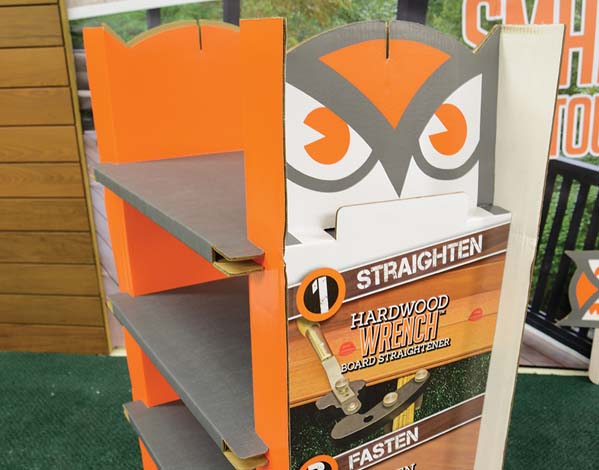
Rotate the entire display vertically. The owl shaped cutouts should be at the top.
Moving forward, keep checking for a tight fit to ensure the entire display is secure.
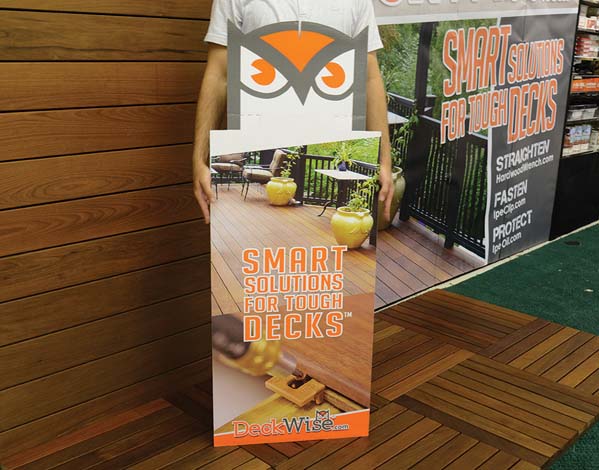
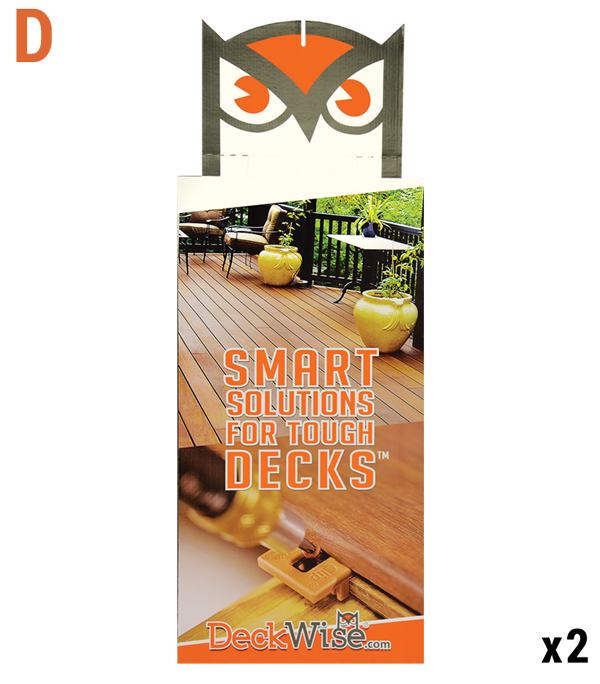
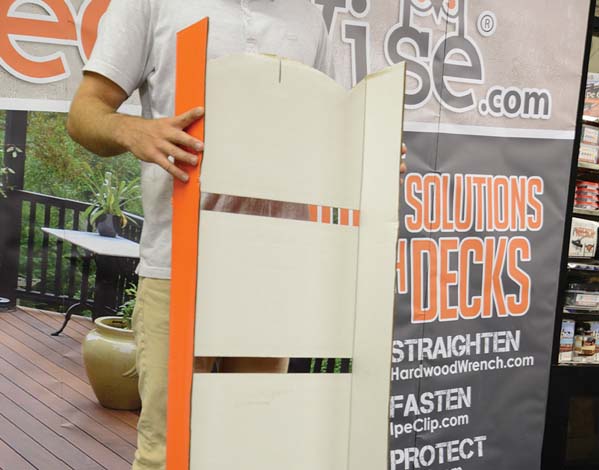
Chose one of the Panel D's and fold the side flaps back towards the kraft side.
Each Panel D will insert into the sides of each Panel C. This will add stability later.
Bend the top of both Panel D's 90° back, allowing the rounded cutout to stay vertical.
Fold the top owl face of each Panel D back up vertically to create a shelf.
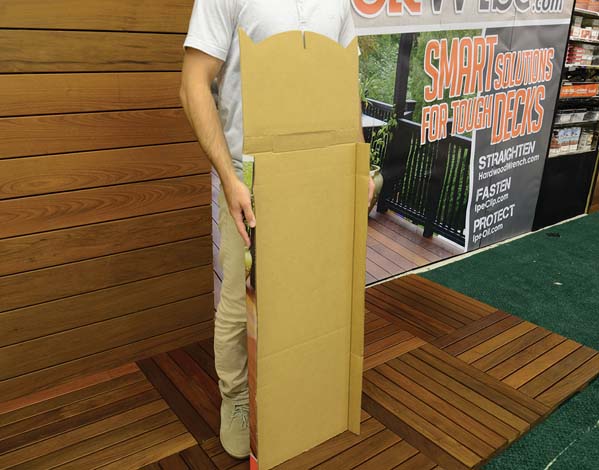
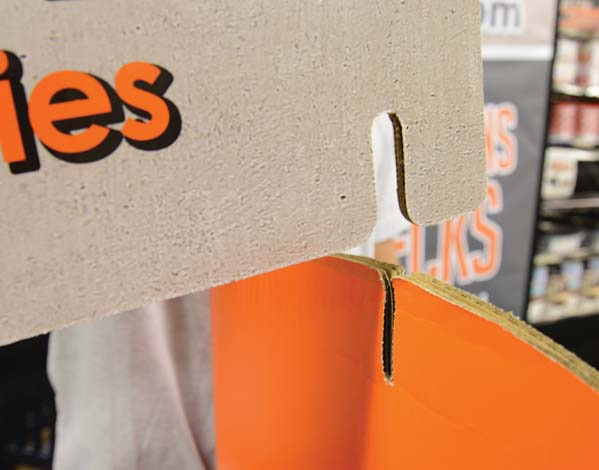
Insert panel D from the top down into panel C's white side. Keep everything tight.
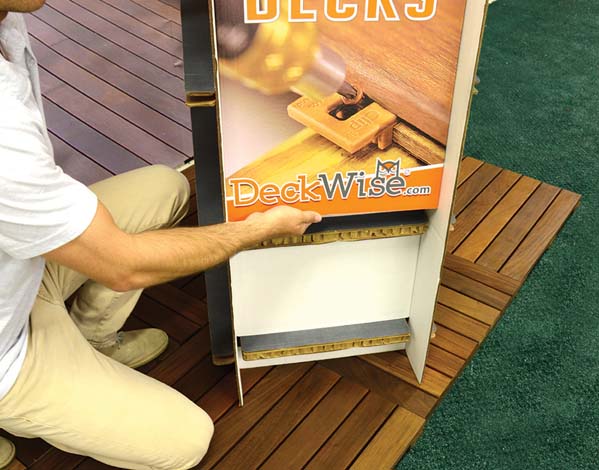
Slide panel D down inside panel C keeping the flaps wedged into the sides of the shelves.
Panel D now completes the shelf when pushed in tightly. This is the area for DeckWise® catalogs.
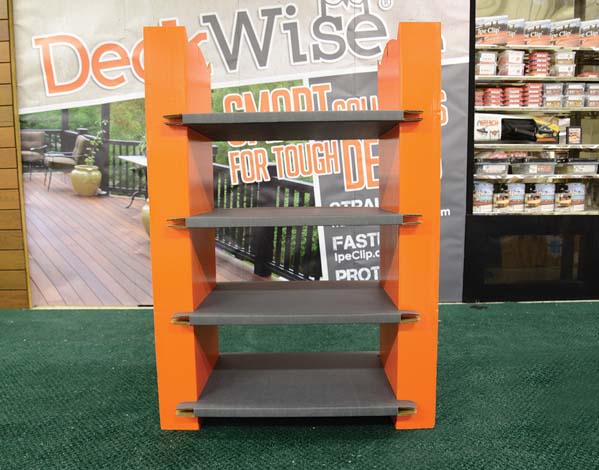
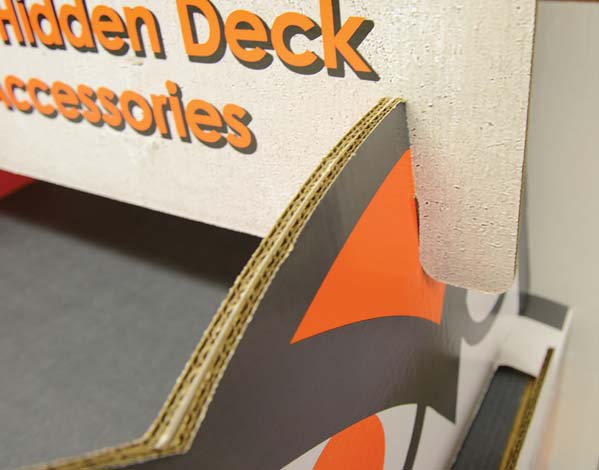
Finished side C and D. Notice how tightly they fit and how the tops of Panel C and D match.

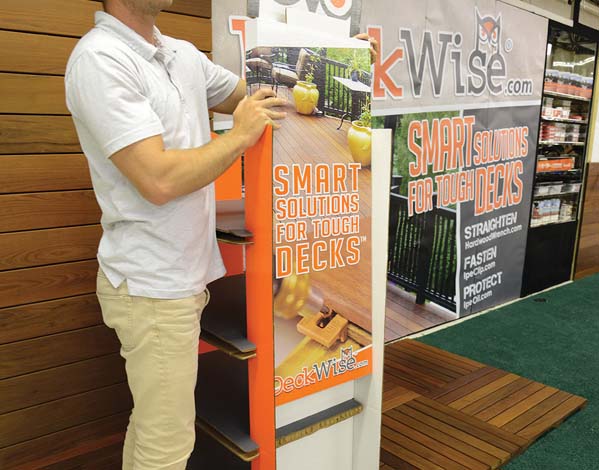
Insert the Panel E header on one side into the slot matching top slots of Panel C and D.
Finish inserting the Panel E header into the other panel C and D to complete.
Notice the tops of panels C and D align symmetrically when Panel E header is attached.
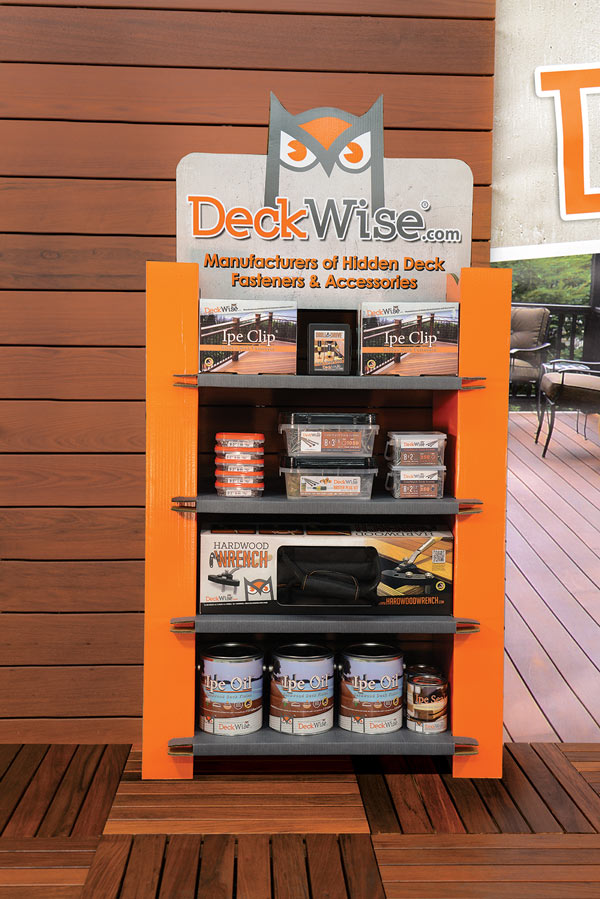
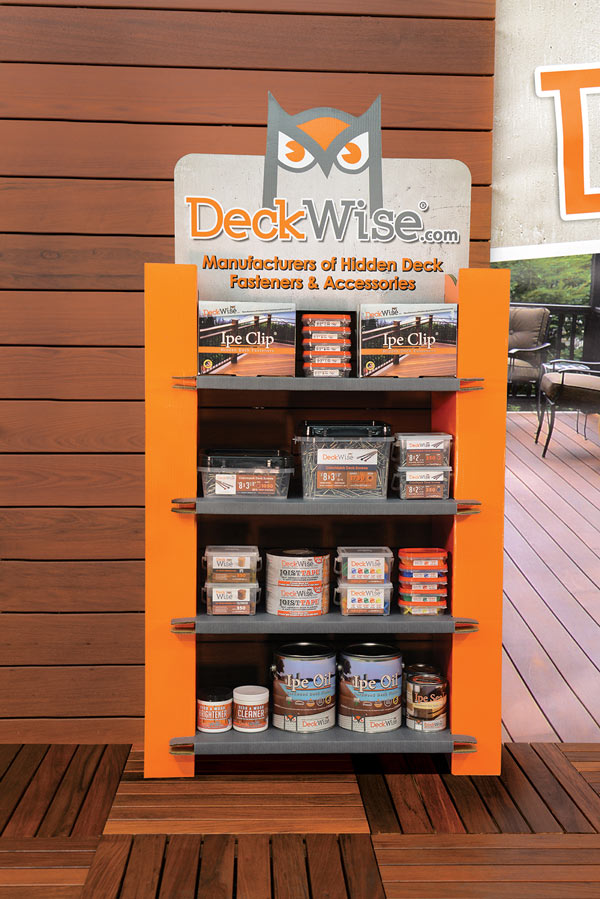

You can fill this POP with your choice of DeckWise® products to create a custom display to yourwishes and customer's needs.
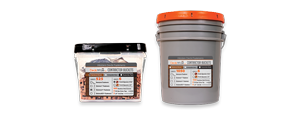
Place Ipe Oil® and/or heavier items on the bottom shelf for better stability.